Monday, January 27, 2014

Exciting News!

It has been a while S&C-ers, but I promise that I have the best news to share with you. Something awesome happened in these last few months...

This!

On our way back to Pennsylvania for the holidays on December 20th, Andy proposed to me on the steps of Old Main on Penn State's campus. He got me to State College under the ruse that we were going to see our college friend Jake the next day, so he had surprised me with an overnight stay and stop at the campus. This was actually just part of the plan to get me to State College using a believable excuse. Penn State is such a special place for us, and I was so excited to have a chance to see it again! We decided to check out the campus and parked the car in the HUB parking deck. We walked by Atherton Hall, the dorm where we both lived, and across the HUB lawn (including a little offroading in the snow because the lawn is under construction). We walked along College Ave, and then as the chimes on the Old Main clock struck 8 PM, he lead me to the top of the stairs of Old Main and proposed. I said yes. :)

Next, Andy lead me through the HUB where we rounded the fishtanks to find my mom and dad and Andy's parents and their dog Sunny waiting for us. Seeing them may have been more surprising than the proposal itself, or maybe I was still a little bit in shock. After meeting up, everyone went out to Otto's Pub & Brewery for a late dinner (I even got my favorite apricot wheat beer!). It all felt like a dream.

The next day, we went around and took some pictures on campus because I was determined to commemorate the occasion. It was raining, but we still got some nice photos.

The next day on the steps of Old Main.

We're already in the midst of wedding planning, which is exciting and a little overwhelming, because apparently you need to act fast in the wedding biz or everything is booked. This past weekend, I went to look at venues in Philadelphia with my parents and Carmeline, my good friend from home. Now comes the decision! Ahhhh!

I will update with new recipes soon (I have some good ones on deck, I promise!), but I wanted to share this joyful time with all of you. :)

Wednesday, October 16, 2013

Granola Goodness Part Two!

As is true with a lot of my recipes, this idea started when I wanted to use up something that I had hanging around in the fridge; in this case, it was some jarred applesauce I had bought to make zucchini bread a week or two ago. Given my granola kick, I wondered if anyone had ever thought to use applesauce in granola instead of oil, like you would do with a cake or other baked good.

Lo and behold, the Google revealed to me that others had this thought, too!

Because I'm still on my pumpkin kick, I used pumpkin spice as my seasoning rather than just plain old cinnamon for some seasonal interest. This recipe is on the sweeter side as far as granolas go, which makes it really yummy for direct snacking and also great on plain greek yogurt with a drizzle of honey. Om nom nom.


 Granola for the whole week!


Pumpkin Spice Applesauce Granola

Significantly altered from Baking Bites

Yields approximately 5 cups of granola


3 1/2 cups old fashioned (NOT quick cooking!) oats
2 tsp pumpkin pie spice
1/2 tsp salt
1/2 cup light brown sugar, packed
1/2 cup unsweetened applesauce (regular, not the chunky kind)
1/8 cup honey
1 tsp vanilla extract
1/2 - 3/4 cup mixed nuts (I used 1/2 cup walnut baking pieces and 1/4 cup sliced toasted almonds)
1/2 - 3/4 cup dried fruit (I used raisins, but cranberries or just about any dried fruit would be great here, too)

1) Preheat oven to 325 F, and line a large baking sheet (or two smaller sheets) with parchment paper.
2) In a large bowl, combine oats, pumpkin spice, and salt. In a separate medium bowl, whisk together brown sugar, applesauce, honey, and vanilla.

3) Pour wet ingredients into dry ingredients. Add nuts and stir to combine. Spread on prepared baking sheet(s) in an even layer.

4) Bake for 20 minutes, then gently stir, rotating the granola from the edges into the middle to ensure even baking.

5) Bake for an additional 20 minutes or until the granola is dry and crispy. It will get crispier as it cools. It might be necessary to stir the granola again at this stage if you need to bake it for a much longer time.

6) Set pan on a wire rack to cool. Once cooled, break up granola as desired, and stir in dried fruit. Store in an airtight container to retain crispiness.


Wednesday, October 9, 2013

Almond Butter Granola AND Peanut Butter Granola

Okay, how come nobody told me how easy and awesome it is to make your own granola? Seriously, kids, where has this been all my life?

Most of the recipes I've found online involve lots of oil (isn't granola supposed to be healthy-ish?) or laborious stirring, to which I am greatly opposed. I found these two recipes on the site Peanut Butter Fingers (which is a really great read, by the way), and they couldn't be easier. I'm partial to the peanut butter version, but both are very yummy and great to eat with yogurt or by the handful. You're just 15 minutes away from delicious crunchiness!

 Giant clusters!


Almond Butter Granola

From Peanut Butter Fingers
Makes about one cup of granola (I halved the original recipe)

Ingredients:
2 tbsp. almond butter
2 tbsp. honey
1/4 tsp. cinnamon
1/4 tsp. vanilla extract
1 tbsp. chia seeds (optional, but a nice healthy addition!)
1 c. old fashioned oats (not quick cooking!)

Directions:

  1. Preheat oven to 325 degrees F and spray cookie sheet (I used a jelly roll pan with edges for fear of dropping the granola everywhere) with cooking spray.
  2. Combine almond butter and honey in a bowl and microwave until almond butter is slightly melted (about 30 seconds). Stir almond butter and honey together.
  3. Add cinnamon and vanilla to almond butter mixture.
  4. Stir oats and chia seeds into almond butter mixture, completely coating oats in the mixture.
  5. Spread oats onto cookie sheet and bake for eight minutes before tossing oats and baking for another eight minutes until granola is slightly brown.
  6. Let cool until granola is crunchy (it might not be immediately crunchy when you take it out of the oven, but give it time and it will be) and enjoy!


Almond butter granola

Peanut Butter Granola

From Peanut Butter Fingers
Makes about one cup of granola

Ingredients:
2 tbsp. creamy peanut butter
2 tbsp. honey
1/4 tsp. cinnamon
1/4 tsp. vanilla extract
1 c. old fashioned oats

Directions:

  1. Preheat oven to 325 degrees F. Spray cookie sheet/jelly roll pan with non-stick cooking spray and set aside.
  2. Combine peanut butter and honey in a bowl and microwave until peanut butter melts (approximately 20 seconds). Stir.
  3. Stir cinnamon and vanilla into peanut butter and honey mixture.
  4. Add oats and stir until oats are completely covered in peanut butter mixture.
  5. Spread out oat mixture onto prepared cookie sheet and bake for 15 minutes or until granola is slightly browned. Stir the granola once halfway through baking.
  6. Let cool until granola is crunchy and eat!

Monday, September 30, 2013

Pumpkin Season is Here!

The temperatures are a bit cooler, the days a bit shorter, and the trees a bit crunchier. That snap in the air can only mean one thing... 

Pumpkin. EVERYTHING.

I know some people out there are very anti-pumpkin and think the pumpkin-flavored trend is overrated and overdone.

Let me tell you up front that I am not one of those people.

This weekend, Andy and I headed to Trader Joe's for my annual pumpkin-flavored stock up. The results were epic.

For those of you keeping score at home, that is TWO jars of pumpkin butter and TWO containers of pumpkin yogurt. 

I purchased so much pumpkin-themed stuff in one swoop that even the guy at the register commented that I wasn't messing around with the pumpkin. I got the last can of chai, which I wasn't able to get at all last year, but I was merciful and left one jar of pumpkin butter on the shelf for some other like-minded individual. This stock up is on top of the things I've already amassed so far this season (pumpkin flax granola from Costco, Dunkin' Donuts pumpkin spiced coffee, etc.). I may have a slight addiction, but now, I am set for the rest of the year. 

I also learned that this is a thing and is conveniently located next to the pumpkin butter. Apple butter is another fall favorite of mine, and I'm excited to try this version.

Om nom nom.

In honor of the beginning of pumpkin spice season, I experimented with this twist on a traditional snickerdoodle, one of my favorite cookies of all time, which substitutes pumpkin pie spice for the mix of cinnamon and a hint of nutmeg that I use normally. I thought that the recipe as written was a little dry, so I added some more liquid to make the dough easier to handle and a bit more moist. They were a big hit at home and at a housewarming party that I attended this weekend. Happy fall!


Pumpkin Spiced Snickerdoodles

Adapted from Skinnytaste
Makes 24-30 cookies


1 cup whole wheat flour (I used white whole wheat, but either is fine)
3/4 cup all-purpose flour
1/2 tsp baking soda
1/2 tsp cream of tartar
1 cup sugar
1/4 cup butter, softened
1 tbsp honey
1 tsp vanilla extract
1 large egg
1/4 cup milk (or water)
3 tbsp sugar
1 tbsp pumpkin spice

Preheat oven to 375°F.  Line two baking sheets with parchment paper or spray generously with cooking spray.

Combine flour, baking soda, and cream of tartar in a medium bowl, stirring with a whisk.

In a large bowl, combine 1 cup of sugar and butter; beat with a mixer at medium speed until well blended. Add the honey, vanilla, egg, and milk; beat well.  Gradually add the flour mixture to the sugar mixture, beating until just combined.  Cover and chill for at least 10 minutes. (The chilling step is very important and will make your cookies and your life better, so don't skip it!)

The dough after chilling. 

In a medium bowl, combine 3 tbsp sugar with pumpkin pie spice, stirring with a whisk to combine. With moist hands (also very important!), shape dough into balls about 1 inch in size. Roll balls in sugar/pumpkin pie spice mixture until covered. You will probably have some of the sugar/pumpkin pie spice left over after this step. 


Place balls 2 inches apart onto baking sheets.


Slightly flatten each ball by pressing down gently with a fork.


Bake 375°F for 6-8 minutes (cookies will be slightly soft but the edges should have started to set).  Cool on baking sheets for 2 minutes.  Remove from pans to cool completely on wire racks.


Wednesday, September 18, 2013

Good for You Chocolate Lava Cake

I'll get right to it: chocolate lava cakes are awesome. However, they have never had the reputation of being good for you. Even if you make them at home, the average lava cake will have hundreds of calories for an itty bitty serving. What's a chocolate-loving girl to do about this conundrum?

After much searching of the internet, I found this recipe for a "Guilt Free Lava Cake for One," and unlike most "healthy" recipes you see around these days, I could make it with the ingredients I had on hand. Glorious!

I really don't like using the word "guilt" when it comes to food. I don't think we should ever feel guilty about eating. Our bodies need need food, after all. However, healthy isn't exactly the right word for this dish, either, because despite what the internet might tell you, desserts aren't exactly health food, even if they contain whole grains, coconut oil, powdered unicorn horn, or what have you.

I'm going to call this recipe "Good For You Chocolate Lava Cake" because it is nutritionally MUCH better for you than traditional lava cakes and let's be real - chocolate just makes you feel good inside.

The cake is lava!

I can't wait to try this recipe with flavored yogurt instead of plain yogurt. Raspberry? Coffee? Vanilla? The possibilities are endless. This recipe makes one cake, but it can easily be doubled, quadrupled, etc. to make as many cakes as you have ramekins.


Good For You Chocolate Lava Cake

Modified slightly from Girl Who Bakes

Yields one cake

1 tablespoon white whole wheat flour
1 1/2 tablespoon all-purpose flour
1 1/2 tablespoon granulated sugar
1 heaping tablespoon cocoa powder
1/8 teaspoon baking soda
pinch of salt
3 tablespoons non-fat milk
1 tablespoon non-fat Greek yogurt (or any non-fat yogurt)
1/4 teaspoon vanilla extract

Directions:

1. Preheat oven to 350 degrees F.

2. In a small bowl, whisk together flours, sugar, cocoa, baking soda, and salt.

3. In a separate bowl, mix milk, yogurt, and vanilla, making sure to get rid of any yogurt lumps.

4. Pour wet ingredients into bowl of dry ingredients, and stir until combined and smooth.

5. Generously spray an individual-sized ramekin with cooking spray. Pour batter into ramekin. Place on a cookie sheet, and bake for 12-16 minutes (I usually need about 14 minutes) or until edges and top of cake are set. The center will still be a little jiggly to the touch.

6. Let cake cool for 1 minute. Place a small plate on top of the ramekin. Invert the plate and gently lift off the ramekin.

7. If desired, garnish with berries, whipped cream, or ice cream. Enjoy!


Sunday, September 15, 2013

How to Make Filled Cupcakes

Since I've mentioned this technique a few times in my recipes, I thought that making an instructional page on how to make filled cupcakes might be useful, especially because it seems super intimidating if you've never done it before (spoiler alert: it's not that hard!). Just a little bit of extra work can take your cupcakes from awesome to over-the-top.

Materials:
  • A sharp knife (my preferred method) or cupcake corer (I use a small biscuit cutter for this purpose)
  • Your cupcake, cooled
  • Your filling, cooled


Procedure:

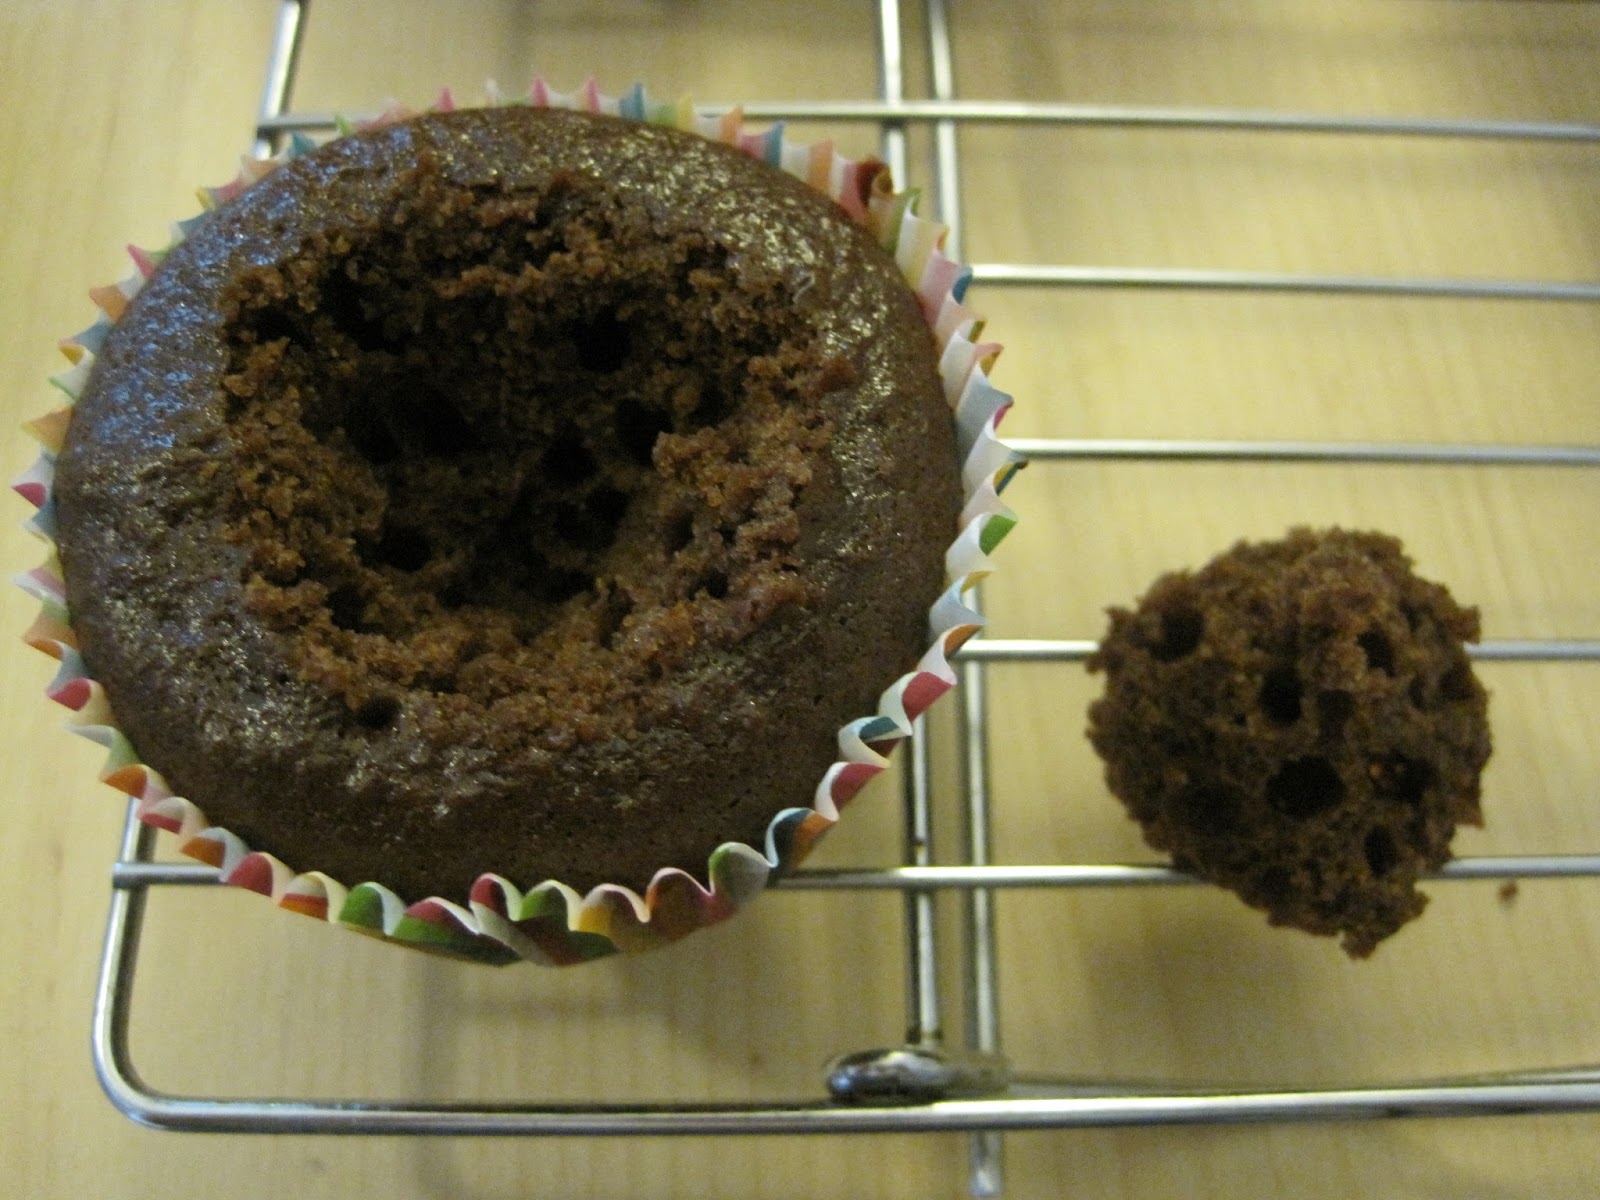
1. Remove the center of your cupcake.

If using a cupcake corer, gently twist the cutter into the top of the cupcake while applying gentle pressure, trying not to squash the cupcake in the process. To remove the cake, pull gently on the top of the corer, twisting a bit to separate the center of the cake from the rest of your cupcake.


If using a knife, place the knife at a 45 degree angle to the surface of your cupcake. Gently cut a circle out of the top of the cake, maintaining a 45 degree angle with your knife until you've cut all the way around to make a cut out in the shape of a cone. Gently lift out the cone.


This extra cake can either be eaten (RIGHT NOW), discarded (lame), repurposed (I've made cake balls out of the extra cake!), or used to cork your cupcake if you have a particularly tricky filling (like something with fruit that could look lumpy) or a liquidy frosting (like a glaze). More on this option in a second.


2. Fill your cupcake.

If you do not plan to replace the piece of cake that you removed in step one, fill your cupcake so that the filling is level with the top of the cake. You may even want to extend the filling over the edges a bit to make the surface flat. 


If you would like to put the cake center back on top of the filling, fill the cupcake about 3/4 full, leaving a bit of room for the displaced cake. Put the cake back in the center, gently pressing down to put it back into place. It will not be exactly level, but try to do the best that you can to get it securely in place.


3. Frost your cupcake.

Let the cupcake sit for 10 minutes or so to let your filling settle into its new surroundings. Your cake may absorb some filling, meaning you need to add a little bit more to get it to be level with the top. Also, if you have a liquidy filling, frosting the cakes immediately after filling may cause some of the filling to get carried along with the frosting, resulting in a swirl of your filling in your frosting.

After waiting a bit, frost the cupcake with your frosting of choice, making sure to cover any seams from the filling process. 


4. Bask in the praise of your cupcake audience. 

See that wasn't so bad, was it? I knew you could do it! 

Monday, August 26, 2013

Raspberry Truffle Cupcakes

I have a confession.

I had never been to Sprinkles Cupcakes until a few weeks ago.

As a person with a blog called "Science and Cupcakes," I was ashamed. A long standing wrong has finally been righted.

After a lovely orchestra concert in Millennium Park one Friday night, a few friends and I headed over to Sprinkles' Chicago location at the request of my friend Elizabeth. It was after hours, but never fear!


Cupcake ATM to the rescue!

If you get a hankering for a cupcake after the Sprinkles storefront is closed, there's a cute little kiosk just outside the entrance where you can buy a cupcake from a refrigerated vending machine-type apparatus. It comes in its own adorable little box, and you get to watch it being plucked from the shelf when you buy it.

Andy got a raspberry cupcake with raspberry frosting, and I got the vanilla milk chocolate cupcake with chocolate cream cheese frosting and chocolate sprinkles. Oh my gosh. They were moist, rich, and delicious. Other favorites among our purchases included chocolate marshmallow and black & white.

After finishing our desserts, Andy commented that it would be awesome if the raspberry frosting was on a chocolate cupcake instead of just a regular raspberry cake.

Behold, inspiration!

After consulting The Google, I found this recipe for raspberry truffle cupcakes, which I modified slightly based on what I like/what I had around the kitchen. I used a different buttercream frosting and used Fage Total 0% Greek yogurt instead of sour cream. They were decadent and delicious, and I think I polished off most of them by myself. Who would want to share when they came out so well?

P.S. I am working on a tutorial on how to make filled cupcakes, so look for an instructional post coming soon!

Eat ALL of the chocolate.

Raspberry Truffle Cupcakes

Modified from Kitchen Simplicity
Makes ~18 cupcakes

Chocolate Cupcakes

1.5 cups all-purpose flour (I used white whole wheat)
1/2 cup white sugar
1/2 cup brown sugar, packed
3/4 teaspoon baking soda
1/4 teaspoon salt
2 oz. bittersweet or semisweet chocolate, finely chopped
2 tablespoons unsalted butter, softened
1/4 cup unsweetened cocoa powder
1/2 cup boiling water
1 teaspoon vanilla extract
1/2 cup nonfat Greek yogurt
1/2 cup low fat buttermilk
2 large eggs, lightly beaten

Preheat oven to 350 degrees.

In a medium bowl, sift flour, sugars, baking soda, and salt through a fine-mesh sieve. Set aside.

Place chopped chocolate, butter, and cocoa into a large bowl. Pour boiling water over ingredients, and without stirring, let sit for 2 minutes. After 2 minutes, stir until smooth. Whisk in vanilla, yogurt, buttermilk, and eggs until well combined. Add dry ingredients, whisking until smooth.

Spoon 1/4 cup batter into regular-sized muffin tins prepared with cupcake liners. Bake for 20 minutes or until toothpick inserted into the center comes out clean. Let cool 5 minutes before removing to cool on a wire rack. Cool cupcakes completely.


Raspberry Ganache

5 oz. semisweet or bittersweet chocolate, finely chopped
1/4 cup seedless raspberry preserves
1/3 cup heavy cream

While the cupcakes are baking, put the chocolate and preserves in a small bowl. In a small saucepan, bring cream to a gentle boil, and then pour over the chocolate and jam. Let stand 3 minutes. Stir until smooth (this might take a little extra effort to get rid of any chocolate chunks!). Allow to cool to room temperature before using. If making ahead, ganache can be stored, covered, in the fridge. If the ganache solidifies too much, it can be reheated in the microwave on medium power for 15 second segments, stirring after each interval.


Raspberry Buttercream Frosting

Recipe halved from The Baking Robot's raspberry buttercream

1/2 cup salted butter, softened
1/4 cup seedless raspberry preserves
2 cups powdered sugar

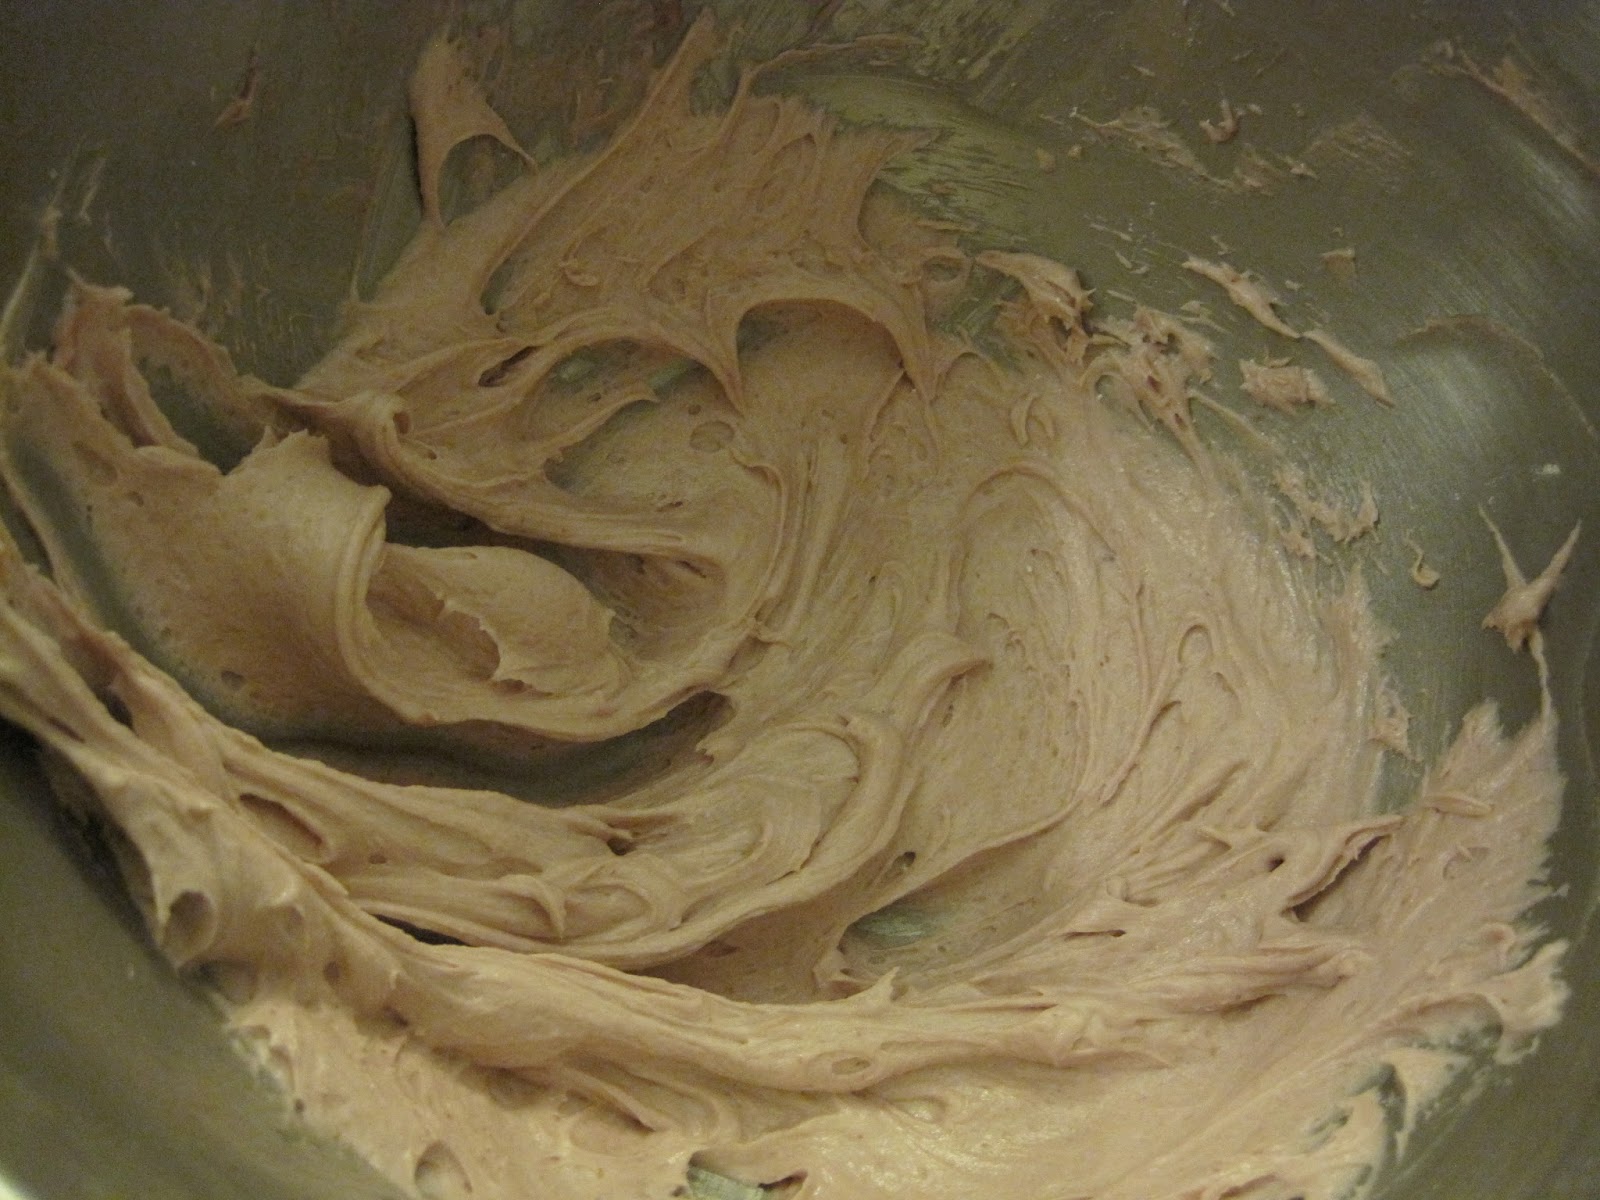
In a stand mixer with the whisk attachment, beat butter and preserves together until smooth and well-combined. Gradually add powdered sugar (about a 1/3 cup at a time), beating after each addition, until frosting has reached a spreadable consistency, scraping down the sides of the bowl as needed.


Assembly!

Once cupcakes have cooled completely, cut a small cone in the top of each cupcake. Keep scraps for another use (I made cake balls!) or discard. Fill cupcakes with chocolate ganache to the top cupcake surface, spreading to make even with the cake (see picture below).


Frost generously with raspberry buttercream, and garnish with a fresh raspberry if desired. Devour.