Showing posts with label cupcakes. Show all posts

Tuesday, April 29, 2014

Coffee Hour: Department Domination Edition

If you've read my blog at all, you know that I go all out for my department's coffee hour when it is my group's turn to host. There is sort of an unofficial ranking of the best coffee hours in the department. The Barnett Group/Bedzyk/Chung coffee hour is usually somewhere near the top. However, it is generally accepted that Mason/Faber is one of the best. 

However, the Mason/Faber contingent is disbanding.

Professors are moving and retiring, and the Mason/Faber coffee hour will be no more. That leaves room for a new reigning coffee hour champion.

Enter: Barnett

The normal recipe: hummingbird cupcakes pre-cream cheese frosting

My labmate Ann and I decided that we were going to pour all of our confectionery efforts into totally bringing it this past coffee hour. I had a normal recipe in mind (these delicious and somewhat healthy hummingbird cupcakes). However, I also wanted to find the most insane recipe I could find to put our coffee hour over-the-top.

I present to you: Man-Whore Bars.


These bars are so intense that they put their predecessor of Slutty Brownies to shame. They look fairly innocuous when you look at them from the top view. But then you look at them from the side...

Holy moly.

I had to take a picture of the cross-section of these beauties because it is just so insane. And then you cut into them....

Edible geology!

I was actually laughing hysterically as I cut these bars because I had to put my entire weight on top of the knife to get it to cut through.


We said we were going to bring it this coffee hour, and ooohhhh, boy did we bring it.

Man-Whore Bars

From Baker's Royale


Ingredients


1 16oz. package of ready made cookie dough, or one batch of homemade (I made the cookie recipe on the back of the Nestle morsels bag, which is the best, duh)
1 batch of chocolate ganache (recipe below)
16 regular size Reese's Peanut Butter Cups
16 Oreos
10 oz bag marshmallows (mini ones work best)
5 cups Rice Krispies cereal
3 tablespoons butter

Directions


  1. Create a foil sling by lining a 9x9 pan with foil with a two inch overhang on each side, using two criss crossed foil pieces. Spray sling with non-stick bake spray.
  2. Spread cookie dough evenly in the bottom of the pan so that it is about 1/4 to 1/2 inch thick (this will use about 2/3 of the cookie dough). Place pan in oven and bake for approximately 15-20 minutes or until golden brown. Remove from oven and set aside to cool.
  3. Place excess cookie dough on a cookie sheet and bake according to recipe directions. (I actually made more cookies and chose a few of them to break up for the topping.) Remove from oven and set aside to cool. Once cooled, crush 1-2 cookies to a fine crumb and set aside.
  4. Once cookie crust in pan has cooled, spread half of ganache on top.
  5. Melt butter in a large pot over low heat. Add marshmallows, and stir until completely melted. Add in Rice Krispies, and stir until well-combined. Spread half of the Rice Krispies mixture over ganache.
  6. Place a layer of Reese's Peanut Butter Cups on top of Rice Krispies layer. Next, place an Oreo on top of each Reese's cup. From there, spread remaining Rice Krispies mixture on top.
  7. Spread remaining ganache on top, and sprinkle with crushed cookies.


Chocolate Ganache
8 oz. bittersweet chocolate, chopped
3/4 cup heavy cream
2 tablespoons butter

Place chocolate in a heatproof bowl. Place cream in a small saucepan over medium heat and bring to a boil. Pour boiling cream over chocolate. Gently stir until chocolate is completely melted and shiny, about 2 minutes. Set aside to cool and thicken at room temperature about 1-2 hours.

Thursday, March 6, 2014

Black Forest Cupcakes

Happy Thursday, everyone!

I can tell it's going to be one of those days that just sort of drags on. I basically started counting down to my department's weekly 4 PM coffee hour as soon as I got to my desk this morning. Usually, I can tell what kind of day it will be by how early in the day I realize that it's Thursday and therefore, coffee hour day. On a good day, I make it to 3:45 and then remember "oh man! Thursday! Awesome!." On the less-than-great days, I realize that it is Thursday immediately and begin the 6 hour countdown. Ooof.

In honor of coffee hour, I'm bringing out another recipe that I made for one of our department functions - in this case, the MatSci holiday party. As much as I like making complicated, homemade recipes, sometimes I really just want to make things from a box. There's no better way to handle dessert if you're cooking for a crowd, especially a not-very-discerning crowd (aka a department of people who will eat just about anything) than dumping a bag of mix into a bowl and throwing in some eggs and water. There is no shame in this, as boxed cakes and brownies are almost as good as the real thing with a fraction of the effort. Fancied up cake mixes (e.g. adding pudding, chocolate chips, and the like) are one of the easiest ways to take something simple and give it a little bit of oomph.

This black forest cupcake recipe comes from my first foray into making filled cupcakes. I really wanted to make a simple, cherry-filled cupcake. Most every recipe on the interwebs seemed to have a compote component, unnecessary chopping, or nonsense like this involved. That sort of defeats the whole purpose of making something easy, no?

I decided to go semi-homemade here, and the resulting recipe is as easy as it gets. Cake mix. Pie filling. A little mixing to make a super simple whipped cream frosting. The results are amazing for how easy it is. You can say you made it from scratch. I won't tell. :)


Black Forest Cupcakes

Cupcake recipe/filling: S&C original
Frosting from Hoosier Homemade


Cupcakes
1 package devil's food cake mix (preferably with pudding in the mix or if not, add a small box (~3.4 oz) of chocolate pudding yourself)
20 oz can of cherry pie filling

Frosting
1 1/2 cups heavy whipping cream, cold
6 tablespoons powdered sugar
1 teaspoon vanilla extract
Red sprinkles and cocoa powder (optional, but awesome)

Instructions

Cupcakes

1. Line a regular-sized cupcake tin with baking cups. Prepare cake mix as recommended on the box. Pour into cupcake liners, and bake as directed. Let cool completely.
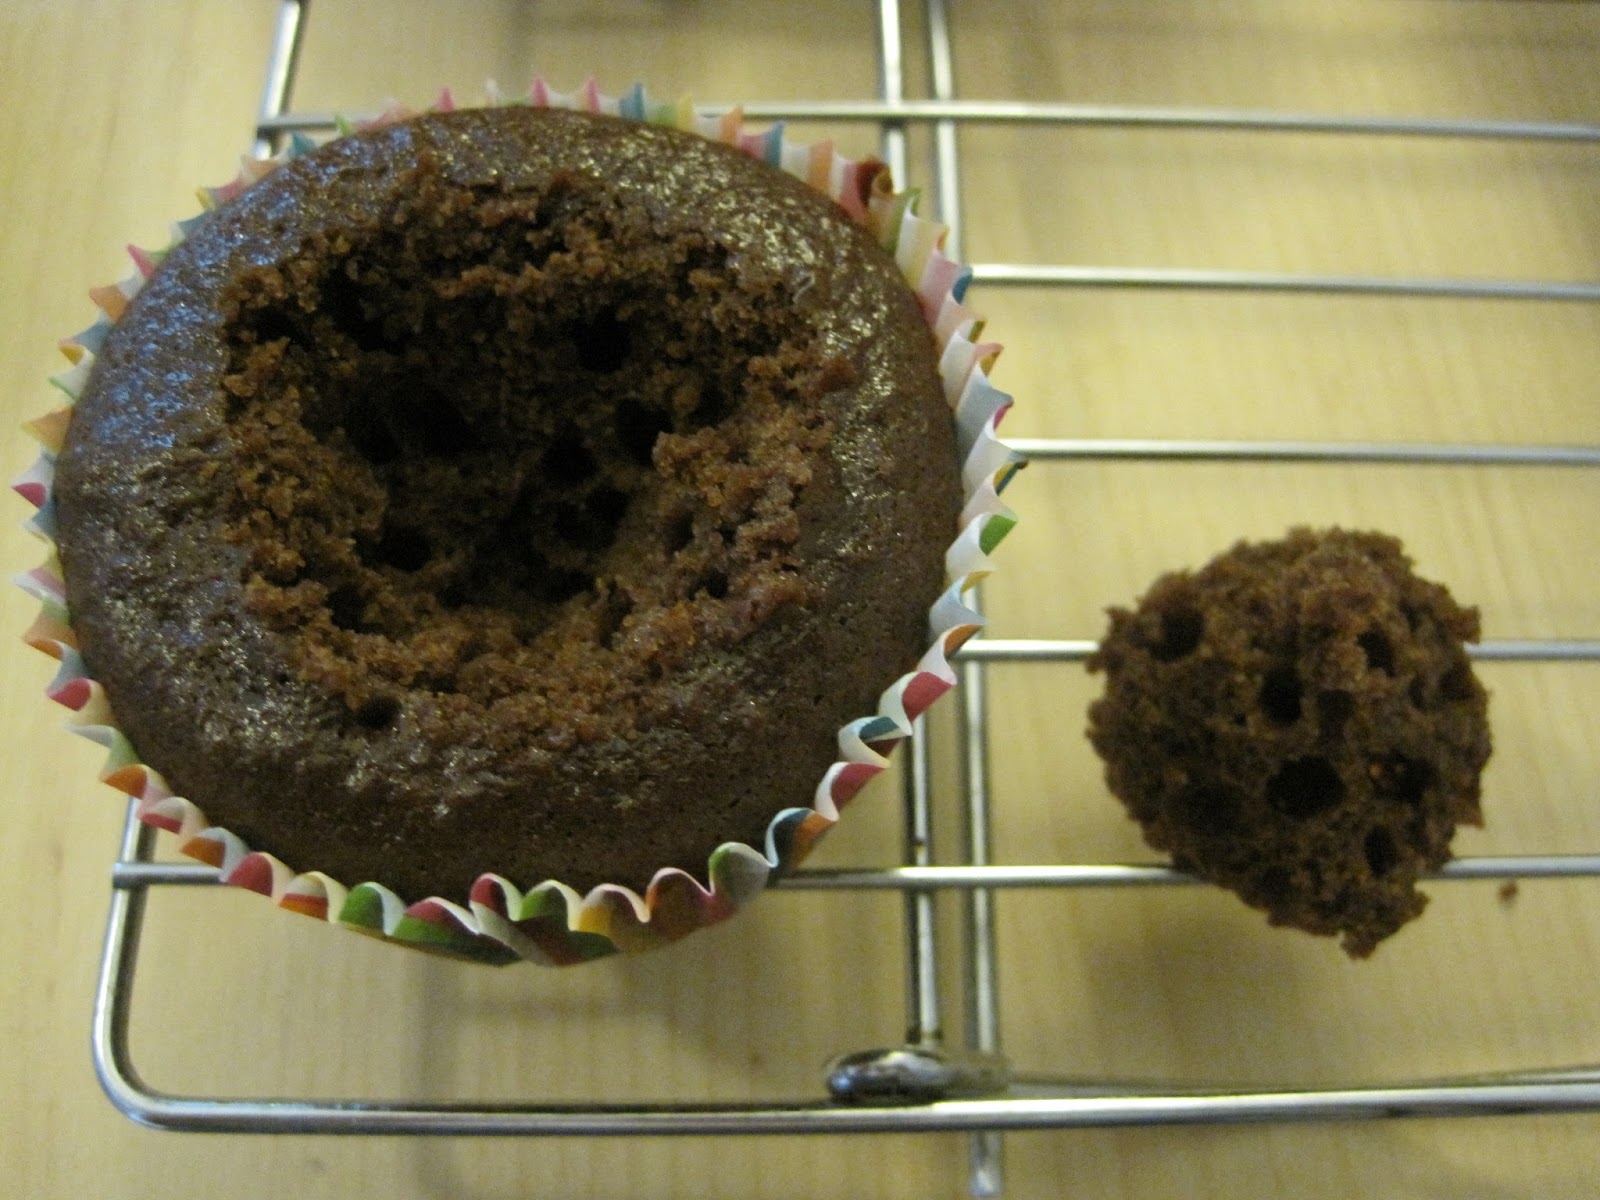
2. Using a knife or a cupcake corer, remove the center of each cupcake. (See my tutorial if you need help) KEEP THE REMOVED CUPCAKE CENTERS. You will put them on top of the cherries to prevent the filling and frosting from mixing and turning pink.
3. Fill each cupcake with about 1 tablespoon of cherry pie filling (2-3 cherries worth of filling). Gently press down on the filling to get it further into the cupcake.
4. Place the cupcake center removed in step 2 on top of the filling, and press it gently into place. It is okay if it sticks up a little bit.


Frosting

1. Pour whipping cream into a large mixing bowl, and beat on medium until it starts to thicken.
2. With the mixer running, add powdered sugar 1 tbsp at a time. Once all the powdered sugar has been added, beat on high until stiff peaks form, being careful not to overbeat the mixture.
3. Fold in vanilla extract.
4. Using a piping bag with a large tip (2A or 1A) or a gallon-sized ziploc bag with the corner cut off, pipe the frosting into a swirl on top of each cupcake. Top with red sprinkles and cocoa powder. Keep cold until ready to use to maintain integrity of the frosting.

Note: I would recommend making these at most one day prior to their consumption, as the cake will absorb some of the cherry filling overnight. You don't want them to get soggy!


Sunday, September 15, 2013

How to Make Filled Cupcakes

Since I've mentioned this technique a few times in my recipes, I thought that making an instructional page on how to make filled cupcakes might be useful, especially because it seems super intimidating if you've never done it before (spoiler alert: it's not that hard!). Just a little bit of extra work can take your cupcakes from awesome to over-the-top.

Materials:
  • A sharp knife (my preferred method) or cupcake corer (I use a small biscuit cutter for this purpose)
  • Your cupcake, cooled
  • Your filling, cooled


Procedure:

1. Remove the center of your cupcake.

If using a cupcake corer, gently twist the cutter into the top of the cupcake while applying gentle pressure, trying not to squash the cupcake in the process. To remove the cake, pull gently on the top of the corer, twisting a bit to separate the center of the cake from the rest of your cupcake.


If using a knife, place the knife at a 45 degree angle to the surface of your cupcake. Gently cut a circle out of the top of the cake, maintaining a 45 degree angle with your knife until you've cut all the way around to make a cut out in the shape of a cone. Gently lift out the cone.


This extra cake can either be eaten (RIGHT NOW), discarded (lame), repurposed (I've made cake balls out of the extra cake!), or used to cork your cupcake if you have a particularly tricky filling (like something with fruit that could look lumpy) or a liquidy frosting (like a glaze). More on this option in a second.


2. Fill your cupcake.

If you do not plan to replace the piece of cake that you removed in step one, fill your cupcake so that the filling is level with the top of the cake. You may even want to extend the filling over the edges a bit to make the surface flat. 


If you would like to put the cake center back on top of the filling, fill the cupcake about 3/4 full, leaving a bit of room for the displaced cake. Put the cake back in the center, gently pressing down to put it back into place. It will not be exactly level, but try to do the best that you can to get it securely in place.


3. Frost your cupcake.

Let the cupcake sit for 10 minutes or so to let your filling settle into its new surroundings. Your cake may absorb some filling, meaning you need to add a little bit more to get it to be level with the top. Also, if you have a liquidy filling, frosting the cakes immediately after filling may cause some of the filling to get carried along with the frosting, resulting in a swirl of your filling in your frosting.

After waiting a bit, frost the cupcake with your frosting of choice, making sure to cover any seams from the filling process. 


4. Bask in the praise of your cupcake audience. 

See that wasn't so bad, was it? I knew you could do it! 

Monday, August 26, 2013

Raspberry Truffle Cupcakes

I have a confession.

I had never been to Sprinkles Cupcakes until a few weeks ago.

As a person with a blog called "Science and Cupcakes," I was ashamed. A long standing wrong has finally been righted.

After a lovely orchestra concert in Millennium Park one Friday night, a few friends and I headed over to Sprinkles' Chicago location at the request of my friend Elizabeth. It was after hours, but never fear!


Cupcake ATM to the rescue!

If you get a hankering for a cupcake after the Sprinkles storefront is closed, there's a cute little kiosk just outside the entrance where you can buy a cupcake from a refrigerated vending machine-type apparatus. It comes in its own adorable little box, and you get to watch it being plucked from the shelf when you buy it.

Andy got a raspberry cupcake with raspberry frosting, and I got the vanilla milk chocolate cupcake with chocolate cream cheese frosting and chocolate sprinkles. Oh my gosh. They were moist, rich, and delicious. Other favorites among our purchases included chocolate marshmallow and black & white.

After finishing our desserts, Andy commented that it would be awesome if the raspberry frosting was on a chocolate cupcake instead of just a regular raspberry cake.

Behold, inspiration!

After consulting The Google, I found this recipe for raspberry truffle cupcakes, which I modified slightly based on what I like/what I had around the kitchen. I used a different buttercream frosting and used Fage Total 0% Greek yogurt instead of sour cream. They were decadent and delicious, and I think I polished off most of them by myself. Who would want to share when they came out so well?

P.S. I am working on a tutorial on how to make filled cupcakes, so look for an instructional post coming soon!

Eat ALL of the chocolate.

Raspberry Truffle Cupcakes

Modified from Kitchen Simplicity
Makes ~18 cupcakes

Chocolate Cupcakes

1.5 cups all-purpose flour (I used white whole wheat)
1/2 cup white sugar
1/2 cup brown sugar, packed
3/4 teaspoon baking soda
1/4 teaspoon salt
2 oz. bittersweet or semisweet chocolate, finely chopped
2 tablespoons unsalted butter, softened
1/4 cup unsweetened cocoa powder
1/2 cup boiling water
1 teaspoon vanilla extract
1/2 cup nonfat Greek yogurt
1/2 cup low fat buttermilk
2 large eggs, lightly beaten

Preheat oven to 350 degrees.

In a medium bowl, sift flour, sugars, baking soda, and salt through a fine-mesh sieve. Set aside.

Place chopped chocolate, butter, and cocoa into a large bowl. Pour boiling water over ingredients, and without stirring, let sit for 2 minutes. After 2 minutes, stir until smooth. Whisk in vanilla, yogurt, buttermilk, and eggs until well combined. Add dry ingredients, whisking until smooth.

Spoon 1/4 cup batter into regular-sized muffin tins prepared with cupcake liners. Bake for 20 minutes or until toothpick inserted into the center comes out clean. Let cool 5 minutes before removing to cool on a wire rack. Cool cupcakes completely.


Raspberry Ganache

5 oz. semisweet or bittersweet chocolate, finely chopped
1/4 cup seedless raspberry preserves
1/3 cup heavy cream

While the cupcakes are baking, put the chocolate and preserves in a small bowl. In a small saucepan, bring cream to a gentle boil, and then pour over the chocolate and jam. Let stand 3 minutes. Stir until smooth (this might take a little extra effort to get rid of any chocolate chunks!). Allow to cool to room temperature before using. If making ahead, ganache can be stored, covered, in the fridge. If the ganache solidifies too much, it can be reheated in the microwave on medium power for 15 second segments, stirring after each interval.


Raspberry Buttercream Frosting

Recipe halved from The Baking Robot's raspberry buttercream

1/2 cup salted butter, softened
1/4 cup seedless raspberry preserves
2 cups powdered sugar

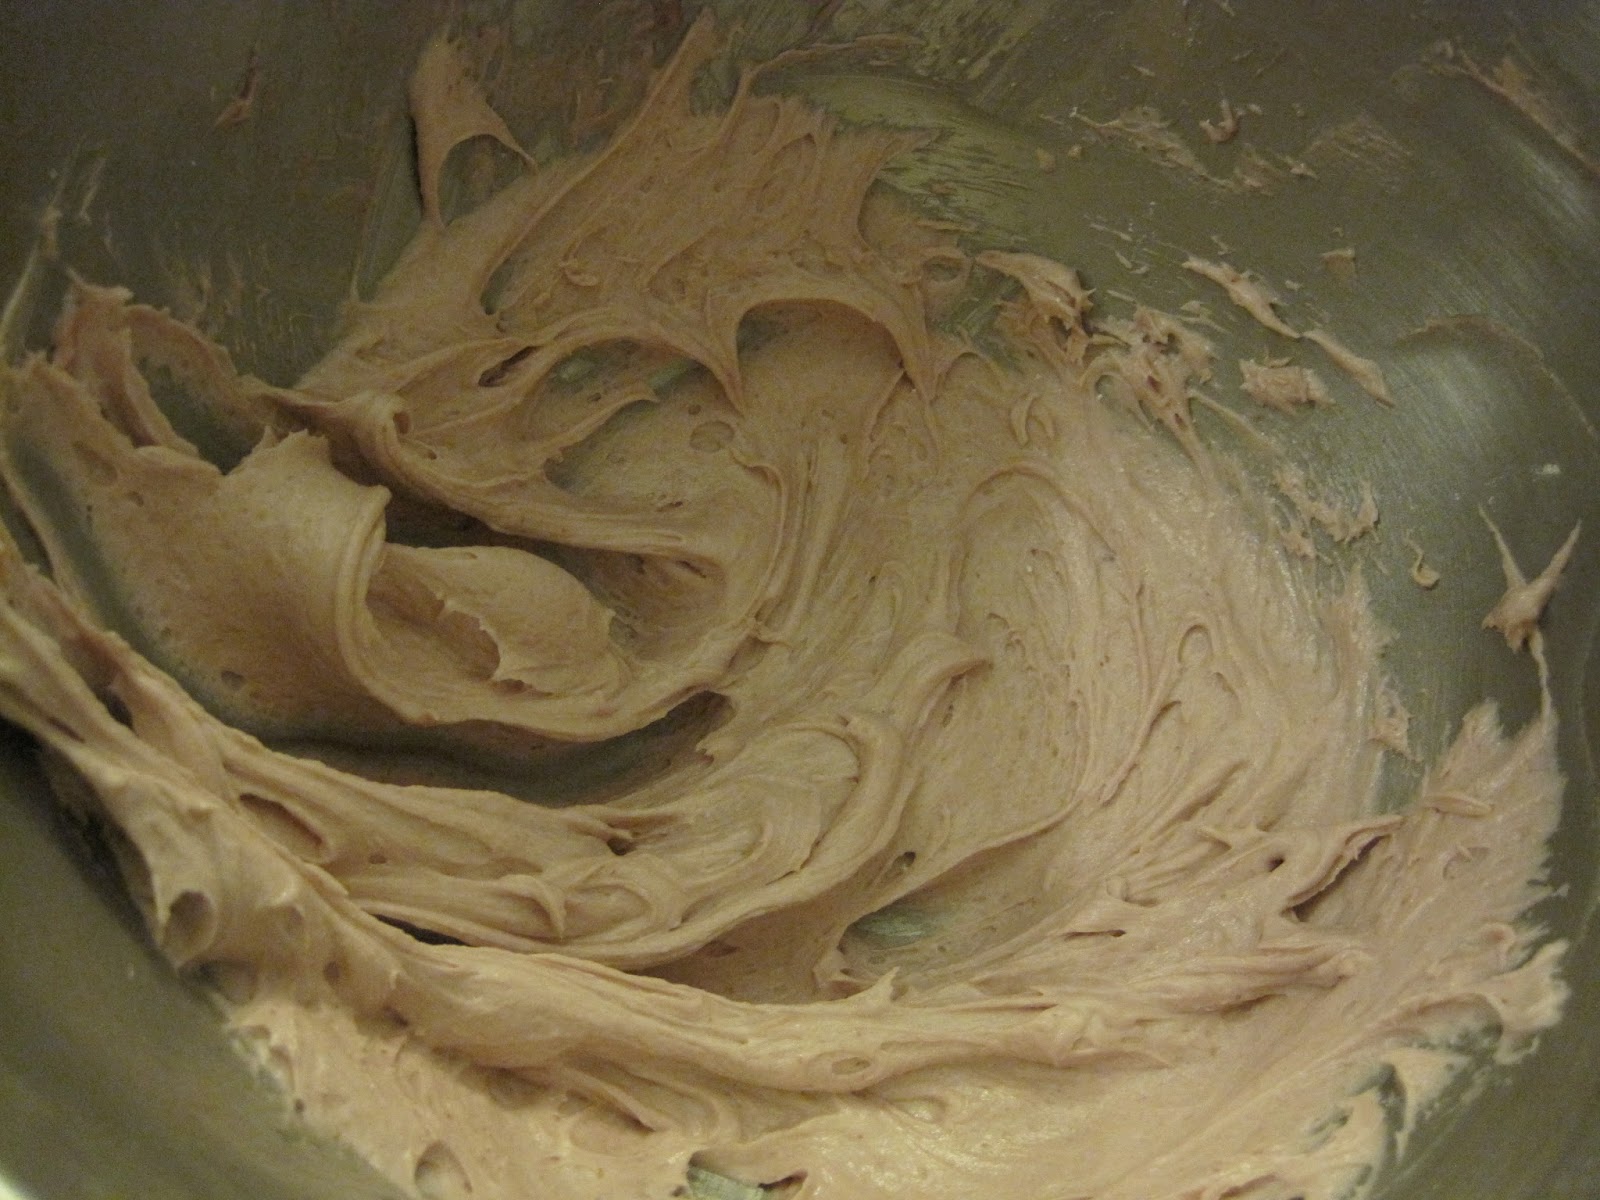
In a stand mixer with the whisk attachment, beat butter and preserves together until smooth and well-combined. Gradually add powdered sugar (about a 1/3 cup at a time), beating after each addition, until frosting has reached a spreadable consistency, scraping down the sides of the bowl as needed.


Assembly!

Once cupcakes have cooled completely, cut a small cone in the top of each cupcake. Keep scraps for another use (I made cake balls!) or discard. Fill cupcakes with chocolate ganache to the top cupcake surface, spreading to make even with the cake (see picture below).


Frost generously with raspberry buttercream, and garnish with a fresh raspberry if desired. Devour.