Tuesday, July 7, 2015

Back from the dead and a super simple drink recipe!

I am ashamed to admit that the last post I put on here is from when it was still snowing. However, the temperature is in the 60s today in Chicago, so we can pretend that it's more spring than summer, right?

I'm just trying to make myself feel better. :)

The past couple of months have been crazy, mainly because I am in the process of writing my dissertation. I am hoping to graduate with my PhD in a few months, so I'm writing, looking for jobs, and still running experiments.

It's a crazy life.

One of the things that keeps me going is my herb garden.


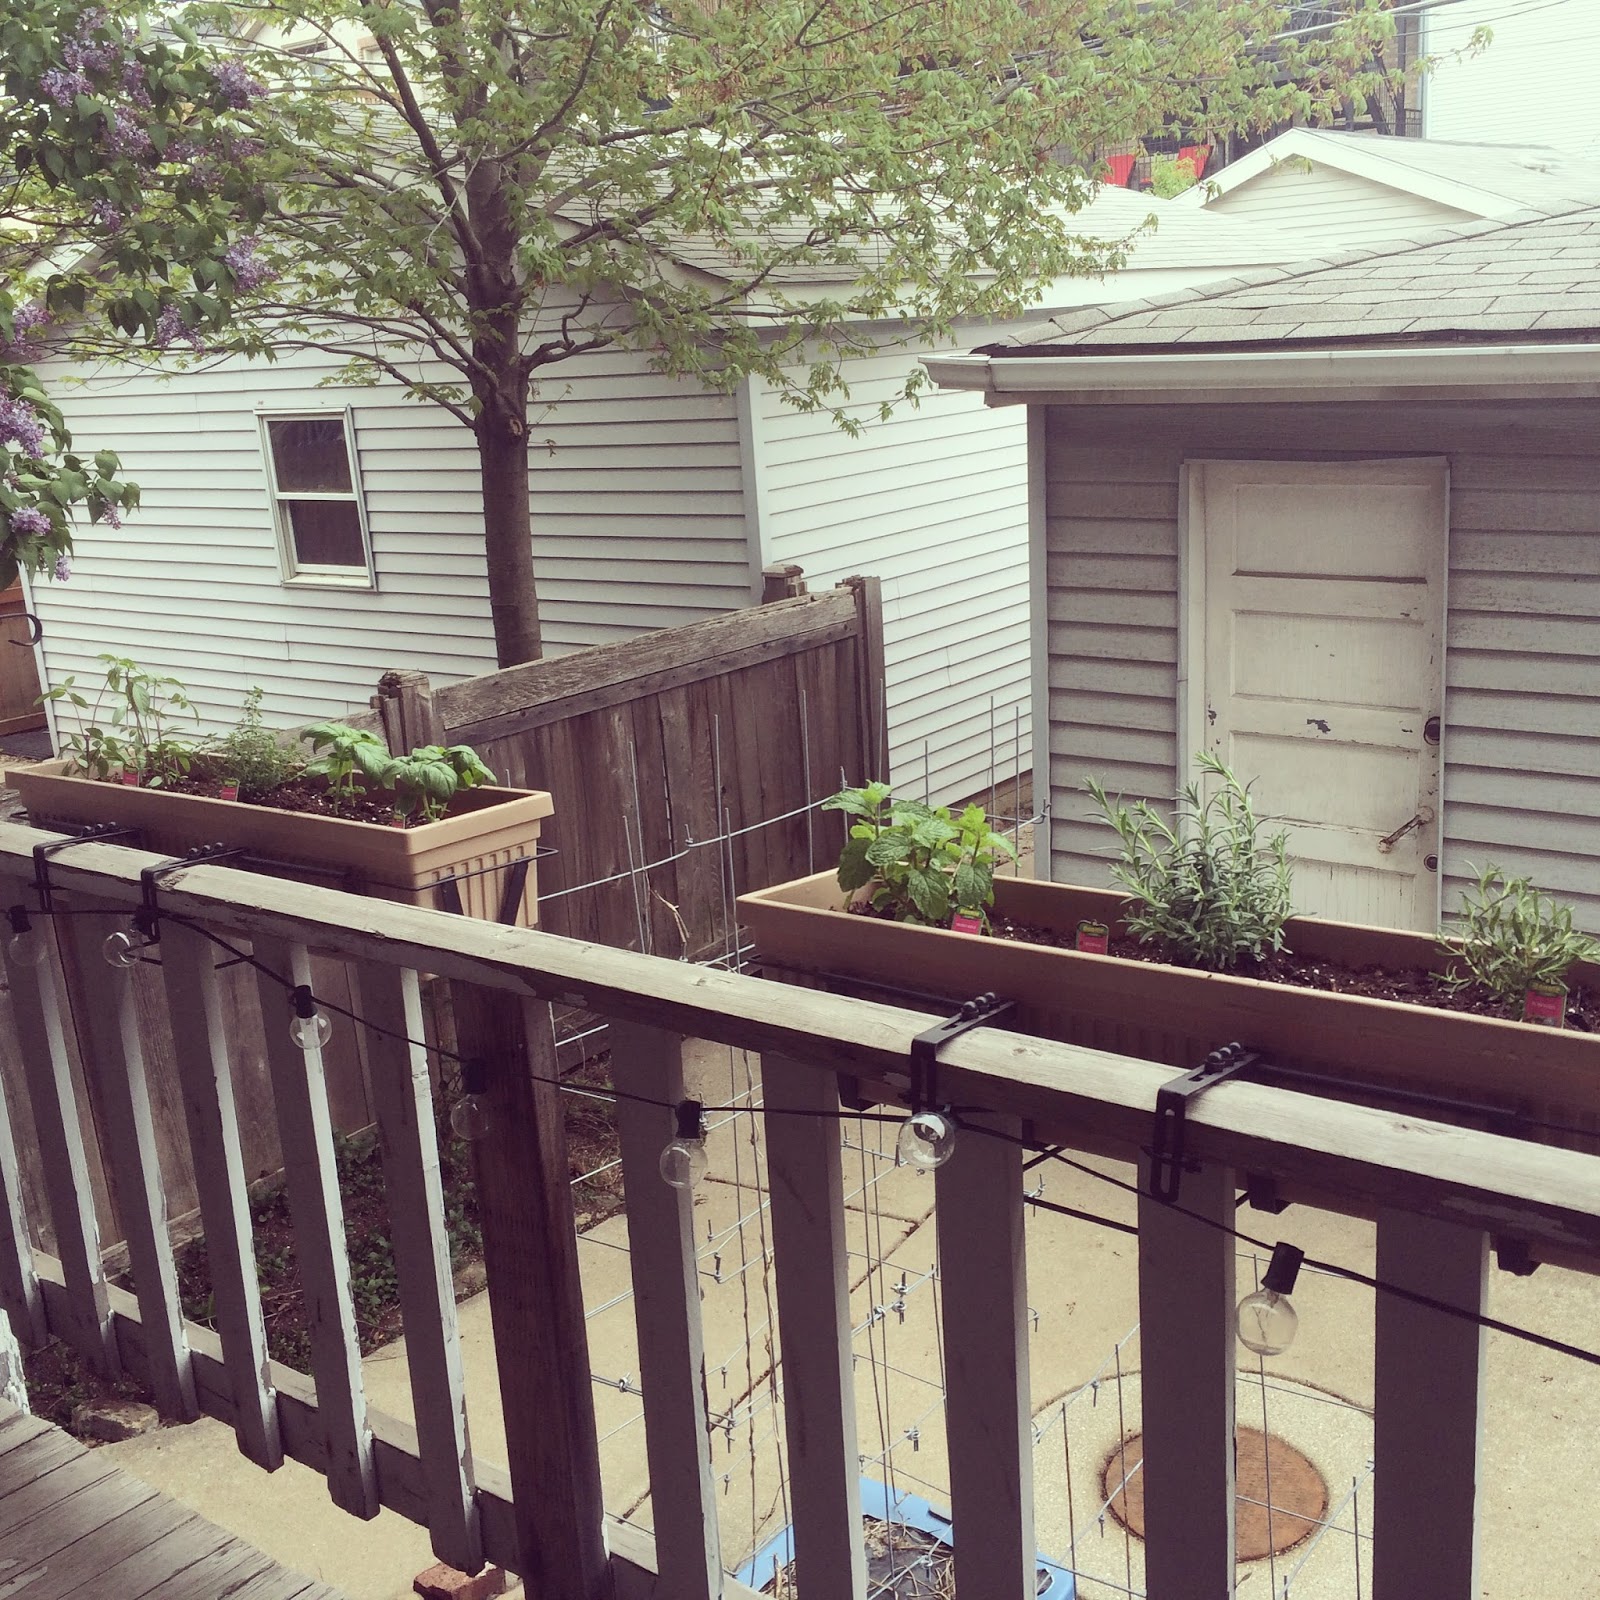
I love having to be creative when you have a bunch of an herb you need to deal with. Herbs always seem to come in droves. You can never just get one sprig of basil. You get an entire bush.

On that note, I have been making a bunch of simple syrups to mix into various beverages for a little touch of summer. Simple syrups require basically no effort, use up tons of herbs, and last for weeks in the fridge. Here is a white iced tea recipe that is super easy and builds on my recipe for lavender simple syrup from a few posts ago. Cold brewing the tea means that this recipe is almost completely hands-off. Also, cold brewing results in a mellower tea that complements the floral notes of the lavender. The taste is light, sweet, and perfectly summer.

Lavender Iced White Tea

A Science & Cupcakes Original


Serves 4

6 bags of white tea
32 oz water
2-3 oz (or to taste, depending how sweet you like your tea) lavender simple syrup

Directions:

1) Add water to a large pitcher. Add the tea bags, making sure to get them completely wet and letting the string and tag hang over the edge of the pitcher. Place the lid on the pitcher (or cover with plastic wrap/aluminum foil if your pitcher doesn't have a lid), securing the strings. This keeps the tea bags in a bunch, making them easier to remove.

2) Place the pitcher in the refrigerator. Let the tea steep overnight or up to 12 hours so that the tea can cold brew.

3) After the tea has brewed, remove the tea bags and discard. Add the lavender simple syrup and stir to combine. Enjoy!


Thursday, February 5, 2015

Slow Cooker Pork Carnitas

On Sunday morning, Chicago woke up to this:


I didn't even want to go outside to take this picture which is why there is obvious window screen visible. 


And it wasn't even done snowing yet! All in all, we got 19.3 inches of snow, the fifth largest storm in Chicago history. The city's reaction? Meh. 

On a day like this, what better way to stay inside and make yourself cozy than by breaking out the slow cooker? Let's make some meat!


For Christmas, Andy bought me the Skinnytaste cookbook, which has so many wonderful recipes and beautiful photos. If you're into cooking at all, I highly suggest picking it up.


This recipe for pork carnitas is super straightforward and super delicious. We served this on warm corn tortillas with broccoli slaw and guacamole, but rice and beans would be great, too! I even ate it for lunch on a toasted English muffin with salsa and spinach.


Slow-Cooker Mexican Pork Carnitas

From the Skinnytaste Cookbook


2 lbs boneless pork shoulder roast, trimmed
1/2 tsp kosher salt

Dry Adobo Rub

1 1/4 tsp ground cumin
1/2 tsp garlic powder
1/2 tsp dried oregano
1/2 tsp plus 1/4 tsp kosher salt
1/4 tsp ground black pepper

6 garlic cloves, crushed (or I used minced jarred garlic)
1/2 c low-sodium chicken broth
2 bay leaves
2 chipotle peppers in adobo sauce, minced (we used 3 because we like it spicy)
1/4 tsp ground cumin

Season the pork all over with the salt. Set a large nonstick pan over medium-high heat, add the pork, and brown on all sides for about 10 minutes. Remove from the heat.

For the dry adobo rub: In a small bowl, combine 1 teaspoon of the cumin, the garlic powder, oregano, 1/2 teaspoon of the salt, and the black pepper.

Using a sharp paring knife, insert the knife into the pork about 1 inch deep and insert the crushed garlic, rubbing any excess over the pork. Rub the pork all over with the dry adobo rub.

Pour the chicken broth into the slow cooker and add the bay leaves, chipotle peppers, and pork. Cover and cook on low for 8 hours. After 8 hours, transfer the pork to a large dish. Discard the bay leaves. Shred the pork using wo forks and return it to the slow cooker with the juices. Add the remaining 1/4 teaspoon cumin and the 1/4 teaspoon salt. Serve.

Note: We had to add additional chicken broth part way through cooking to prevent burning. You may also need to do this, so keep an eye on the level of liquid during cooking.


Monday, January 26, 2015

How to Write a Scientific Paper


As I enter the latter stages of my PhD, I'm working to summarize all the stuff I've done over these past four and a half years in a series of publications that will ultimately become my thesis. This sounds daunting and tedious, and it most certainly is...but not for the reasons you would think. Here is a guide for all you first-time paper writers out there!

Preparation


Beginning to write the paper can go one of two ways:

1) you want to publish your work because you feel that you have finally gathered enough data to make an important contribution to the scientific literature
2) your advisor comes to you saying we need to publish this paper RIGHT NOW or your sworn enemy lab will scoop you

Gather your data. Discover that you didn't write down the one piece of relevant information that you need in your lab notebook. Panic, then try to rationalize how you can write the paper without that one critical piece of information.


Composition


Frantically write the paper

Wait three months while the paper sits on your advisor's desk

Try to find your advisor. Discover that he has left the country for a month without telling anyone.

While you are waiting, perform an experiment that you think will support your paper's conclusions and add to the breadth of data. Experiment contradicts your previous results, and you need to change the entire paper.

Re-write paper in a frenzy and send out revised version

Wait again, as your advisor has gone to a conference for the week.


Revisions


Receive edits from your advisor. Re-write the entire paper for a third time. 

More Edits.

Even MORE EDITS.

Co-author who hasn't said anything up to this point suddenly decides that everything is wrong in the paper and it needs to be rewritten. Re-write the paper for a fourth time.

MORE EDITS.

Endnote library crashes.

You decide to accept all of your advisor's edits because you are now nauseated by looking at this paper and don't care anymore. Time to submit! 


Submission


Almost there!

Attempt to fit your text into an excessively complicated Word template that was last published in Word 2003. Discover that Word 2003 and Word 2013 really don't like each other. Don't even get me started on Mac/PC compatibility.

Even though you already included your figures in their template, the journal requires that you upload every figure and table individually. Your image size will exceed the file size required for figures. Sucks. You're getting JPEGs, jerks.

Decision


Accepted! 

This never happens just by itself. If your paper is simply "Accepted", there has likely been an error. 

Accepted with major revisions or Accepted with minor revisions

Major and minor are clearly in the eye of the beholder. Either category can range from redoing figure captions to redoing the experiments that the entire paper was based on.

Reviewer #3 will think your paper is terrible no matter what. Get out your thesaurus and figure out the most tactful way to say "You are an idiot" without insulting the editor.

Rejected

Try submitting to our sister journal that no one has ever heard of! Impact factor: 0.5

OR

Appeal the decision. Fight! Fight! Fight! This may or may not be successful, so proceed with caution. 

Congratulations! You have successfully written a scientific paper! Elapsed time: 18 months


Sunday, January 18, 2015

Crockpot Mulled Wine

Okay, so technically, the holiday season is over, and all things spiced and fragrant are considered passe. However, it is freezing here in Chicago, which means to me that warm drink season is still in full swing.

I love to make crockpot mulled wine for dinner parties because you can just throw all the ingredients into the slow cooker and forget about it while you are busy preparing everything else. The longer you cook it, the better it gets, so it is basically a foolproof recipe!

This mulled wine is also a very economical way to entertain for a crowd because you can use the cheapest wine you can find, and it will still taste amazing. I used some Three Buck Chuck from Trader Joe's. Just make sure you have a dry red wine, and you're set!

The wine was so popular that I didn't even get a chance to take a picture of it, so you'll have to trust me when I say that it looks very impressive and welcoming!

Crockpot Mulled Wine

Science & Cupcakes Original

Makes approximately 20 servings


3 750 mL bottles of dry red wine (I used Charles Shaw's finest Cabernet Sauvignon)
1 large navel orange, cut into quarters
16-18 whole cloves
4 pieces star anise
6 cinnamon sticks (about 3 or 4 inches long)
1/2 cup brandy
1/4 cup honey
1/4 cup brown sugar, packed
1/4 cup orange juice

Using a knife, make small holes in the peel of the orange. Stick the cloves into the holes. This technique makes it easier to keep track of all of the cloves so that you don't have to fish them out of the wine later.

Add all ingredients to a large crockpot. Cover and cook on high for 4 hours or until ready to serve, stirring occasionally until the honey and brown sugar are dissolved. Drink and be merry.

Tip: If you have cheesecloth, you can also make a little sachet with all of the spices in it. I didn't have this, but it still worked out fine!


Sunday, January 4, 2015

I'm back!

Hello, friends!

It has been entirely too long since I've posted. This past quarter has been CRAZY. Between TAing, lab work, writing papers, etc., I've barely had any time for myself. However, the best thing to happen over the past few months was this:

(Photo credit: Adrienne Matz Photography)

Andy and I are married! We couldn't have asked for a better day. Everything went smoothly, and everyone seemed to have a great time, as is summed up in this picture.

(Photo credit: Adrienne Matz Photography)

I promise that I have lots of recipes coming up in future posts in addition to more grad school wisdom as I get closer to thesis super funtime (!) in the next months. Ahhh! Thanks for sticking with me during my lengthy absence, faithful S&C readers! Love you all. 

Tuesday, August 26, 2014

Bridal Shower!

I'm a little late on this one, but I would be remiss if I didn't mention the AMAZING bridal shower that my bridesmaids and family hosted for me on the 16th of August. I went into the shower not knowing anything about the day, but I think that made it all the more awesome because everything was a surprise. 

The best surprise was the cookbook that all the attendees compiled for me with family recipes and the special stories behind them. I can't wait to make all the recipes and share in the memories of the recipes. :)

All photos are courtesy of Dad, who is officially a shutterbug ever since he got his new camera.

Wearing my snazzy bow hat that Jess made for me.

Carmeline's handmade favors.

The bridal party!

Cheers!

Andy joined the party after the ladies had all the fun.

Andy's mom made cookies (including the lovely Lola cookie in the middle)!

I <3 sunflower decorations.

It was a wonderful day, and I felt so loved. I can't believe it's only 46 days until the wedding!!

Monday, August 11, 2014

I'm back! (and lavender simple syrup)


Friends, friends, friends. I am back from the depths of conferences and wedding planning to bring you a recipe that is entirely summer: simple and fresh. Things have been super crazy here at S&C, as I've gone to two conferences, spent a weekend back in PA, gone on a mini-vacation to Portland and run two 10Ks and an 8K. Phew! This weekend was very low-key, and I'm grateful for the chance to take it easy!

One of my favorite parts of summer is growing herbs on our back porch. Andy and I are really lucky that we are able to have a little bit of our own outdoor space in the middle of a city. We can eat outside at our patio table and enjoy our garden and a nice breeze.

This year, we are growing cherry tomatoes (bruschetta!), basil (pesto!), peppermint (flavored water!), Thai basil (stir frys!), rosemary (everything!), lemon thyme (cake!), and lavender (?!). Lavender is totally new to me, but I figured it would be a fun challenge to use it in my cooking. So far, I have made lemon-lavender tea cakes that were devoured by my labmates as well as lavender simple syrup, which I am going to share with you.


Why was I not aware that simple syrups are so...simple? And that you can flavor them with WHATEVER you want! We have a SodaStream, and I can't wait to make my own lavender soda. And lavender lemonade. And lavender everything.


Lavender Simple Syrup

Science & Cupcakes Original

Makes 1.5 cups


Ingredients


1 cup granulated sugar
1 cup water
1.5 tablespoon fresh lavender flowers/buds (you could also use dried lavender if you don't have fresh)

Instructions

Combine water, sugar, and lavender in a small saucepan. Bring mixture to a boil. Lower heat and let simmer for 5 minutes. Remove from heat, and let cool slightly. Using a fine strainer, remove the lavender leaves from the syrup. Let syrup cool completely, and store in an airtight vessel.