Materials:
- A sharp knife (my preferred method) or cupcake corer (I use a small biscuit cutter for this purpose)
- Your cupcake, cooled
- Your filling, cooled

Procedure:
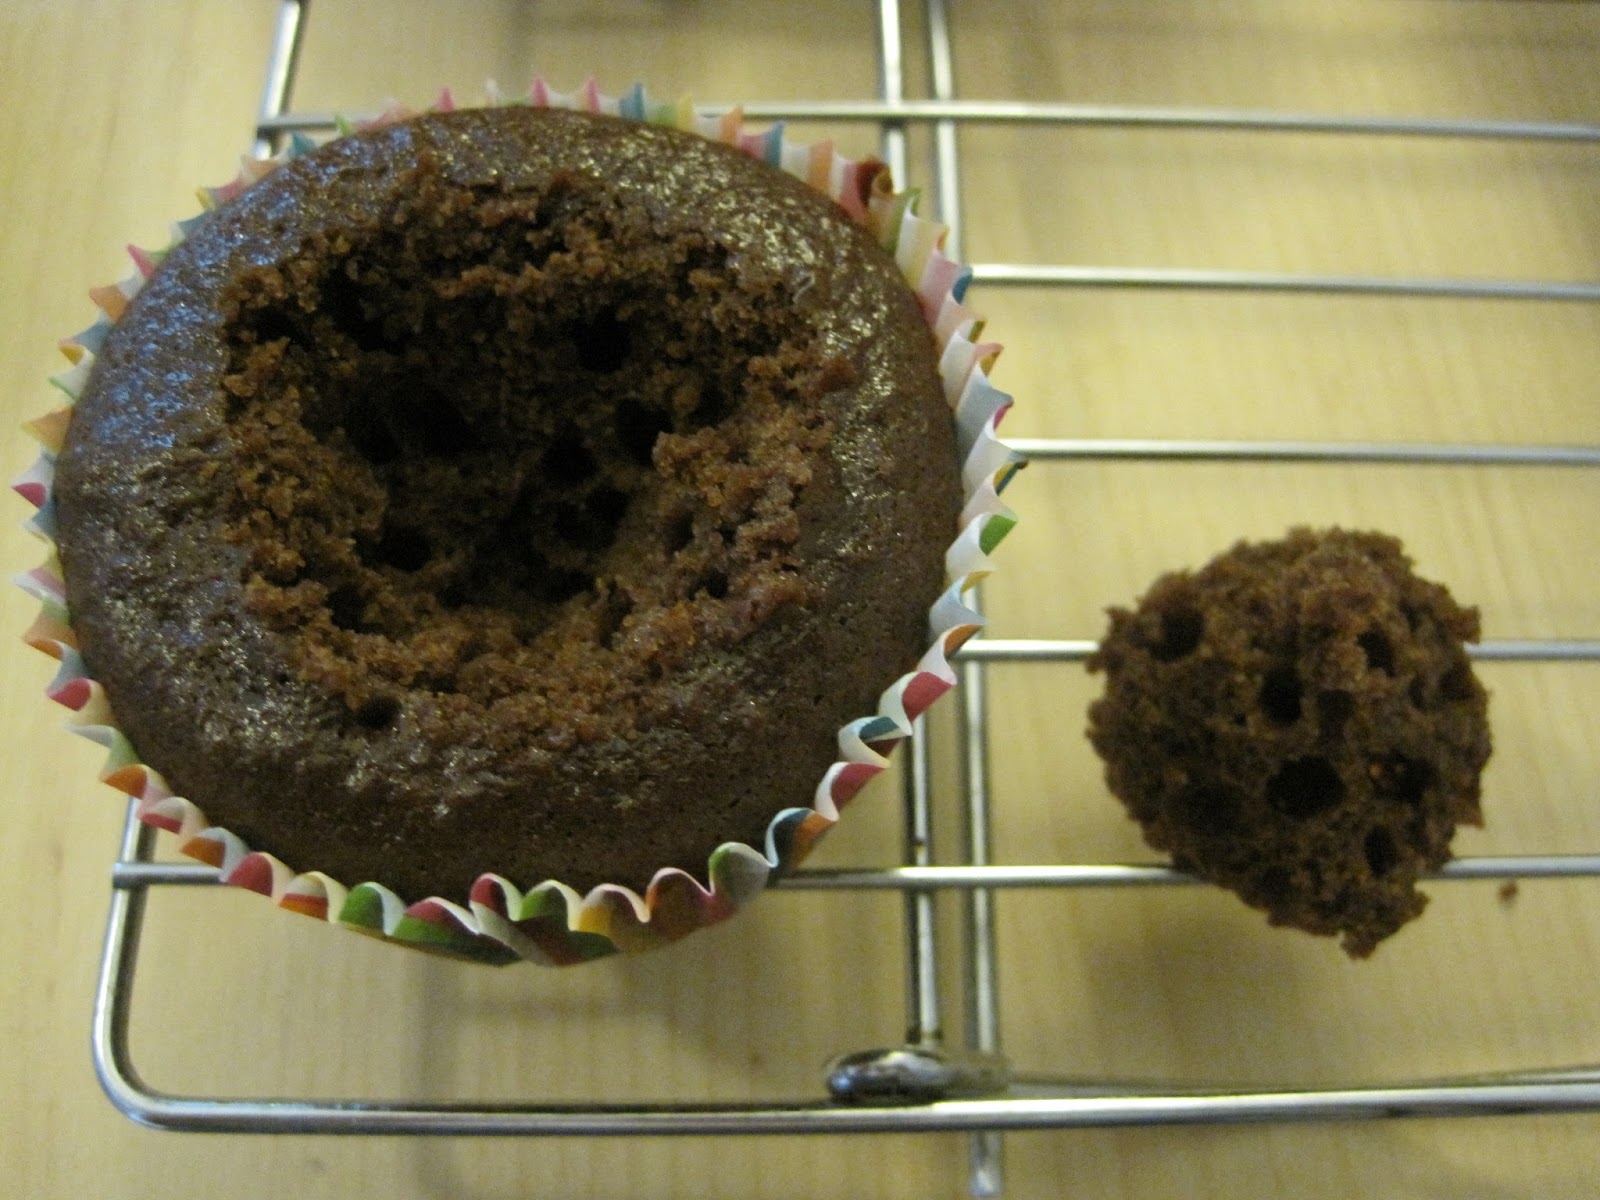
1. Remove the center of your cupcake.
If using a cupcake corer, gently twist the cutter into the top of the cupcake while applying gentle pressure, trying not to squash the cupcake in the process. To remove the cake, pull gently on the top of the corer, twisting a bit to separate the center of the cake from the rest of your cupcake.


If using a knife, place the knife at a 45 degree angle to the surface of your cupcake. Gently cut a circle out of the top of the cake, maintaining a 45 degree angle with your knife until you've cut all the way around to make a cut out in the shape of a cone. Gently lift out the cone.


If you would like to put the cake center back on top of the filling, fill the cupcake about 3/4 full, leaving a bit of room for the displaced cake. Put the cake back in the center, gently pressing down to put it back into place. It will not be exactly level, but try to do the best that you can to get it securely in place.


If using a cupcake corer, gently twist the cutter into the top of the cupcake while applying gentle pressure, trying not to squash the cupcake in the process. To remove the cake, pull gently on the top of the corer, twisting a bit to separate the center of the cake from the rest of your cupcake.
If using a knife, place the knife at a 45 degree angle to the surface of your cupcake. Gently cut a circle out of the top of the cake, maintaining a 45 degree angle with your knife until you've cut all the way around to make a cut out in the shape of a cone. Gently lift out the cone.
This extra cake can either be eaten (RIGHT NOW), discarded (lame), repurposed (I've made cake balls out of the extra cake!), or used to cork your cupcake if you have a particularly tricky filling (like something with fruit that could look lumpy) or a liquidy frosting (like a glaze). More on this option in a second.
2. Fill your cupcake.
If you do not plan to replace the piece of cake that you removed in step one, fill your cupcake so that the filling is level with the top of the cake. You may even want to extend the filling over the edges a bit to make the surface flat.
If you would like to put the cake center back on top of the filling, fill the cupcake about 3/4 full, leaving a bit of room for the displaced cake. Put the cake back in the center, gently pressing down to put it back into place. It will not be exactly level, but try to do the best that you can to get it securely in place.
3. Frost your cupcake.
Let the cupcake sit for 10 minutes or so to let your filling settle into its new surroundings. Your cake may absorb some filling, meaning you need to add a little bit more to get it to be level with the top. Also, if you have a liquidy filling, frosting the cakes immediately after filling may cause some of the filling to get carried along with the frosting, resulting in a swirl of your filling in your frosting.
After waiting a bit, frost the cupcake with your frosting of choice, making sure to cover any seams from the filling process.
4. Bask in the praise of your cupcake audience.
See that wasn't so bad, was it? I knew you could do it!
No comments:
Post a Comment